The callback that turns into a paperwork mess
I’ve seen this one plenty of times. Tech replaces a water heater, says the T and P line was set right, leaves, and two days later the customer says there’s a drip at the drain pan. Now you’re asking around. Did anyone take an after photo? Was the expansion tank charged to 60 psi or 70? Did the tech note the inlet pressure? Did they even finish the checklist, or did they just snap one blurry picture and head out?
That’s the problem with plumbing work. A lot of the proof is simple, but if you don’t capture it right away, it disappears. Water heater serial number. PRV setting. Shutoff valve condition. Trap replacement. Leak test. Cleanout location. The stuff matters later, long after the truck rolled away.
What a good job record looks like on a plumbing call
A solid record doesn’t need to be fancy. It needs to show the work actually happened and who did it. For plumbing, I want four things every time.
First, time on site. When the tech checked in, when they started, and when they wrapped up. If they spent 45 minutes on a toilet rebuild, that should be in the record. If they were on site for three hours replacing a failed water heater and flushing lines, that should be there too.
Second, photos. Not just one random shot. I want before and after pictures of the exact fixture or area. A leaking basket strainer under a kitchen sink. A corroded shutoff. A new water heater with the piping, pan, and discharge line in frame. If the job is a recurring service visit, I want the same setup each time so you can compare the condition from visit to visit.
Third, checklist proof. Did the tech test for leaks at every joint? Did they verify the toilet holds water? Did they cycle the faucet and check the drain? Did they confirm the recirc pump is running if the site has one? Those boxes matter because they show the work was actually finished, not just started.
Fourth, GPS check in. Not because you need to babysit every move, but because you want a clean record that the tech was at the site when the work was marked done. That matters when a customer says nobody showed up or says the guy was there for ten minutes and left.
Why before and after photos matter more in plumbing than people think
A lot of owners think photos are mainly for the customer. Sometimes they are. But honestly, they’re more useful for you.
Say a tech changes a garbage disposal and cleans up the cabinet. Nice. But three weeks later the customer says the old leak damage got worse. If you’ve got before photos showing the cabinet condition, the P trap, the disposal flange, and the after shot showing the new install, you’re not trying to remember details from a packed Friday.
Or take a main shutoff replacement. Without photos, nobody remembers if the old valve was frozen half open, if the packing nut was leaking, or if the new valve was fully accessible. With photos, you’ve got a record of the old brass, the new quarter-turn, and the final setup.
This is where a lot of shops get burned. The tech did good work. But there’s nothing to show for it besides a vague note. The job proof needs to be built while the tech is still standing there with wet sleeves and a phone in their pocket.
The checklist should match the job, not some generic form
A field checklist that works for plumbing has to ask the right questions. Not busywork. Real job steps.
For a water heater changeout, the checklist might include:
- confirmed model and serial number
- verified water shutoff
- checked inlet and outlet connections for leaks
- tested temperature at the tap
- inspected pan and drain line
- confirmed expansion tank charge
- documented gas or electrical hookup condition, depending on the unit
- took after photos of the install and surrounding area
For a drain issue, the checklist might include:
- located blockage or failure point
- recorded pipe section repaired or replaced
- tested flow at the fixture
- checked for seepage at joints
- photographed the cleanout and finished area
For a recurring service visit on a commercial site, you might want:
- checked water pressure at gauge
- inspected flush valves and faucets
- photographed any leaks or corrosion
- confirmed all serviced areas were left dry and operable
- noted parts that need follow-up next visit
That’s the point. The checklist is the record of what the tech actually did. It shouldn’t read like a school worksheet. It should read like a plumber was there.
A real example from the kind of mess that happens
Picture a shop with five trucks. One tech swaps out a failed PRV in a strip mall. He checks in, takes a photo of the old valve, installs the new one, and writes down that the line pressure was 95 psi before the change and 65 psi after. He snaps an after photo showing the new PRV, the gauge, and the shutoffs. He checks off leak test, final pressure reading, and cabinet cleanup.
A week later, the customer says the water pressure is still wrong and the old leak is back. You pull the record. The job proof shows the before photo with the old valve, the after photo with the new one, the pressure readings, the time on site, and the same tech who checked in and checked out. Now you’re not guessing. You’ve got something concrete to talk from.
That’s a lot better than “I think Jake did that one.”
What to record so the photo means something
A picture without notes is just a picture. On plumbing work, the details around the photo are what make it useful later.
If the tech replaces a toilet fill valve, the record should include:
- fixture location
- part installed
- water shutoff status
- before and after photo of the tank interior
- flush test result
- any staining or floor damage noticed
If the tech installs or replaces a water heater, record:
- tank size and type
- serial number
- inlet water pressure if measured
- T and P valve discharge routing
- expansion tank condition
- final leak check
- photo of the completed installation and surrounding area
If the tech services a recurring account, record the site name, the fixture group inspected, and the findings from each visit. That makes the next visit much easier because the new tech can see what was already fixed and what still needs eyes on.
Why this matters when the same customer calls again
Most plumbing customers do not remember the details you remember. They remember the drip, the noise, the cold shower, or the mess under the sink. When they call back, they’re usually not trying to be difficult. They just want you to own the work.
That’s where proof matters. If the record shows the tech was on site for the right amount of time, took before and after photos, and checked off the right steps, you can answer with confidence. If the record is thin, you end up arguing from memory. And memory loses.
It’s the same story with recurring service visits. Apartment buildings, restaurants, medical offices, small commercial spaces. Those places need a paper trail that stays with the account from one visit to the next. Not a stack of loose text messages. Not a pile of paper in the truck. A job record with time, photos, checklist items, and check in data.
What I’d want my techs to capture every time
If I were running the trucks, I’d make the crew capture the same basic proof on every plumbing call.
- check in at the site
- photograph the problem before touching it
- write down the key reading, like pressure, temp, or flow issue
- complete the job checklist while the tools are still out
- take an after photo from the same angle when possible
- mark the time out when the job is done
That’s not extra fluff. That’s how you keep the shop from getting dragged into he said, she said arguments.
How SodaDesk fits this kind of job proof
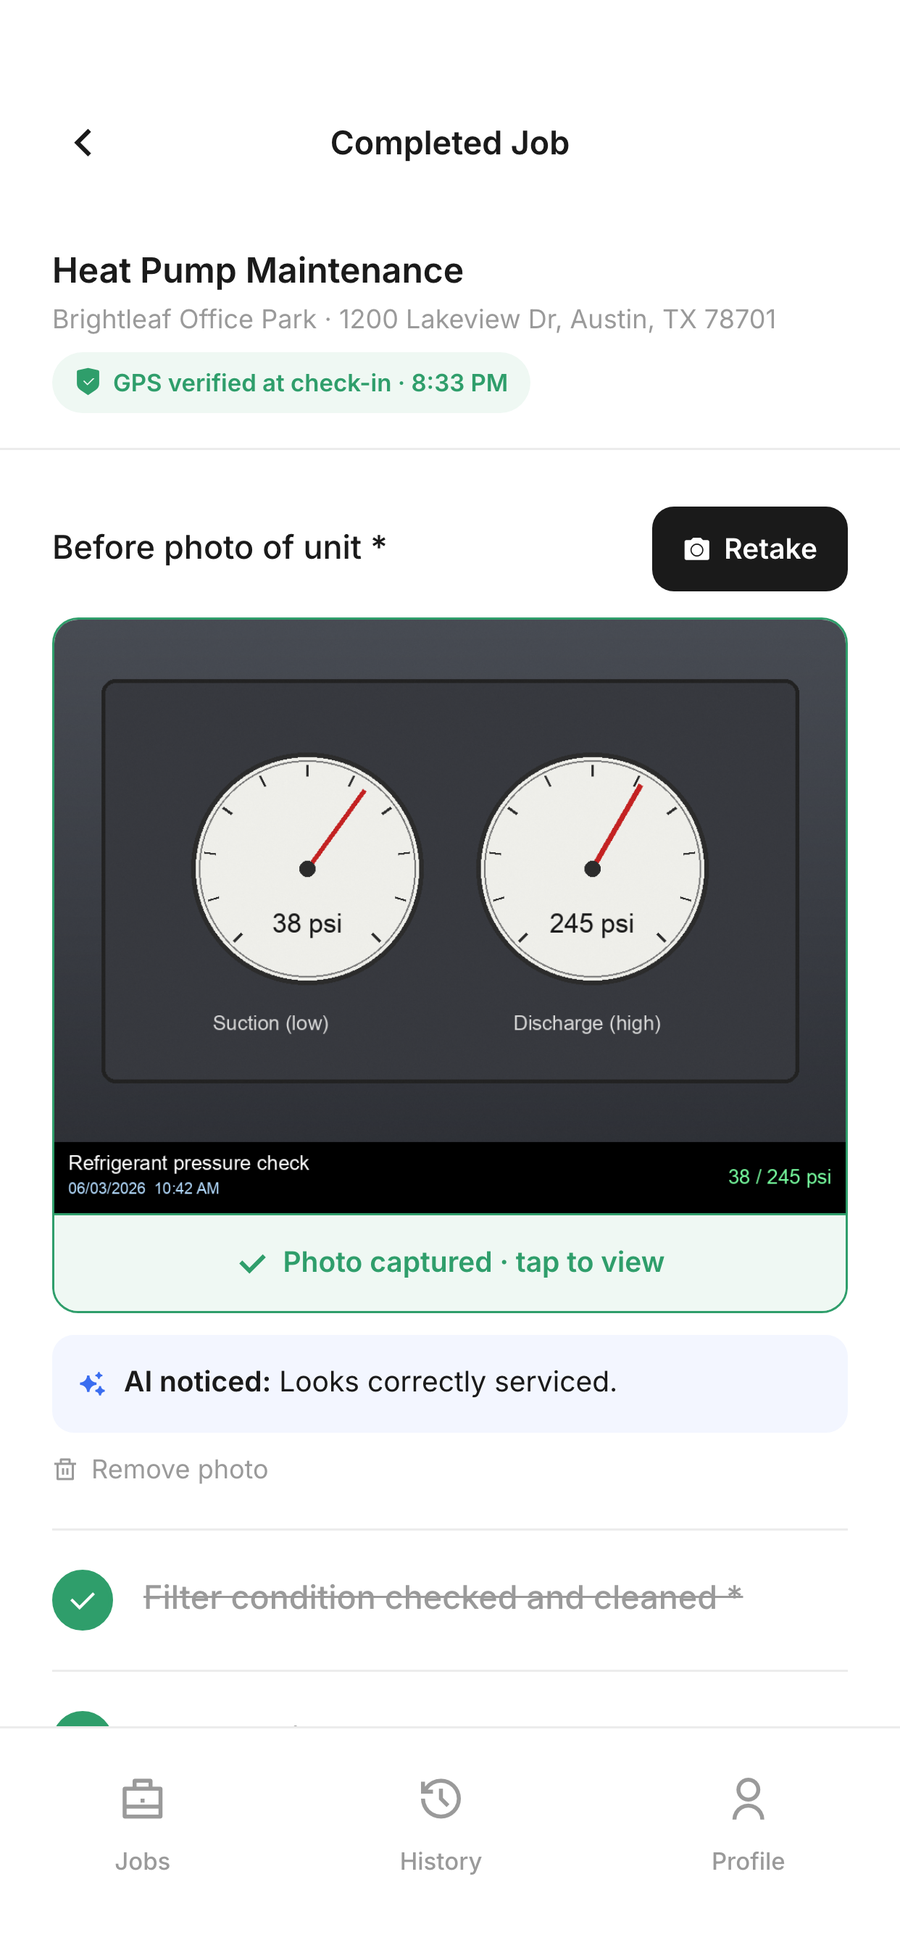
SodaDesk keeps the record tied to the job. The tech checks in with GPS. Time on site gets captured. Photos and checklist items stay attached to that visit. If it’s a recurring service call, the next visit can show the history without digging through old texts or paper forms.
That’s the part owners care about. Not a prettier app screen. The record.
When a tech says the PRV was replaced, you want to see the photo, the checklist, the time, and the name on the job. When a customer asks what happened under the sink, you want to pull up the work and answer like you were standing there. That’s the whole point.
Common questions
What photos should a plumber take on a service call?
Take a before photo of the problem area, an after photo of the repair, and close-ups of the part that was changed. For bigger jobs, include the gauge reading, shutoffs, and the finished area so the record makes sense later.
How detailed should a plumbing checklist be?
Detailed enough to show the work was finished. For a water heater, that means pressure checks, leak checks, discharge line, and cleanup. For a drain job, it means the blockage point, flow test, and any area left open or repaired.
Why record time on site with photo proof?
Because photos without time are easy to argue with. Time on site shows the tech was there long enough to do the work, and GPS check in ties that record to the visit.
Do recurring plumbing visits need the same checklist every time?
Not exactly the same, but they should follow the same pattern. That makes it easier to compare visits, spot repeat leaks, and see what was already checked the last time.
What’s the biggest mistake shops make with job photos?
They get one quick shot after the work is done and call it good. That doesn’t show the problem, the fix, or the finished condition. You need before and after photos plus the notes that go with them.